Printing at home
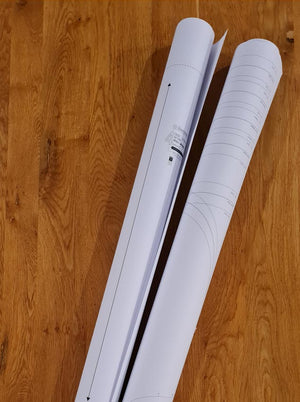
You can print your pattern on your home printer in either A4 (most common in Australasia, UK and Europe) or Letter size (more common in the US). Alternatively, if you do not wish to print & compile your pattern at home (or do not have a printer), you can simply take the much larger AO size to your local Print Shop to print on specialist printers - costing approx NZD$7 per AO sized page for B&W.
Please click here for how to print the large scale pattern at a print shop.
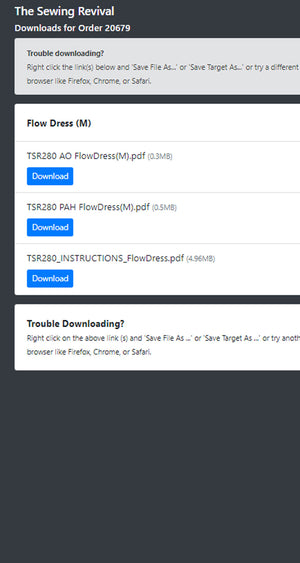
This article explains how to print your pattern at home (using the PAH file):
- How to print to scale & how to print a test square
- Check the tile has printed correctly
- How to print 1 size only
HOW TO PRINT TO SCALE
The most important thing is to print your pattern to scale (actual size).
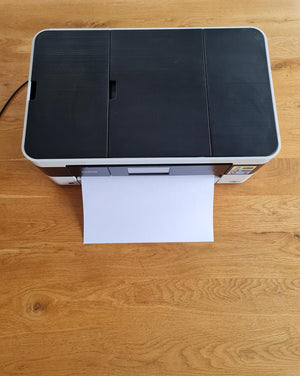
- Make sure the paper in your printer is snug against the paper guides to ensure it does not move during the printing process
- Check your printer properties to ensure the following settings:
- Borderless printing: Print with borders -
- Ie- Borderless Printing should be turned off.
- Print Actual Size (scale = 100%)
- Orientation = Auto Portrait/Landscape (if you do not have this option, then choose Landscape)
Check your pattern is printed to scale

Print the TEST SQUARES which are usually located on the first pattern tile (the page number with the test squares to print is listed in the pattern instructions under "Printing at Home"- refer to the Contents Section of your pattern instructions). Print the test page ONLY (also refer pattern instructions on how to print selected pages) and then check this by using a ruler. The measures on the ruler should align exactly with the test square edge (both horizontally and vertically). If your printed square does not measure exactly check your printer settings (refer above). Sometimes pages don't print properly if the Page Setup is set to "any printer". Make sure the setting is set at your brand and model of printer.
If you have the option, set your printer to print "Fast Print" or "Low Quality" to save ink.
CHECK THE PRINTED PATTERN TILE
So once you have checked the scale - you will also need to check that the tile has printed in the middle of the paper and that the entire outline of the pattern tile is visible on your paper.

If your printed pattern tile does not have a similar layout (ie- you cannot see the entire outline (rectangle frame) then you may have your orientation accidentally set at portrait (it should be Auto Portrait/Landscape).
HOW TO PRINT ONE SIZE ONLY
If you have opened your PDF File in Adobe Reader (not Mac preview), you will be able to use the Adobe Layers Feature to select and print your choice of size. This means your pattern tiles will not be cluttered with unnecessary pattern markings from other sizes and it will be clearer to see the cutting lines.
You can download Adobe Reader for free from the official website here at Get Adobe.
> Once you have downloaded and opened Adobe Reader
> Go to the Layers feature
a) Click View/ ShowHide / NavigationPanes / Layers to ensure the Layers Feature is visible.

b) Select the LAYERS icon and then check the box next to the size you want to print. Uncheck the box next to the sizes you do not want to print.
c) Ensure the Instructions Layer is selected
d) Scroll down the document pages to the Pattern Tiles (or click the link to the Pattern Tiles via the Contents section of the document). You should only see the layers you have selected. Test this by selecting and un-selecting other sizes.

e) BEFORE YOU PUSH THE PRINT BUTTON CHECK you have only your size selected in the layers menu and that you have printed a test square and checked that you have printed to scale.
f) Select ONLY the Pattern Tiles you need. Your Pattern Instructions will list the page numbers to print based on your size and the pattern style. Refer to these (often on or around page 5).

Now you are ready to print.
COMPILING YOUR PATTERNS
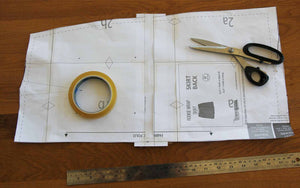
You are now ready to compile your pattern tiles. Learn how here.
SEWING PATTERNS FOR BEGINNERS:
You know how to thread the sewing machine, can sew a straight stitch and a zig-zag. You've also worked through our FREE Easy Sewing Projects and now you are ready for a little more.
The following patterns will teach you the basics like inserting elastic to create gathers for function (like a waistband) or style feature (like a gathered neckline or hem). You will learn to sew darts (to create shape in a garment) and sew a facing (the easiest way to finish a curve on a neckline).
Sewing patterns to develop skills
New skills like the "buritto method" , matching plaids and patterns, top stitching, making & sewing your own bias tape.
Learn to sew with stretch fabrics, insert a zipper, sew button holes and other fastenings.

