Assembling your PDF pattern
The video below takes you through the process of compiling your pattern tiles once printed.
Help with printing at home can be found here.
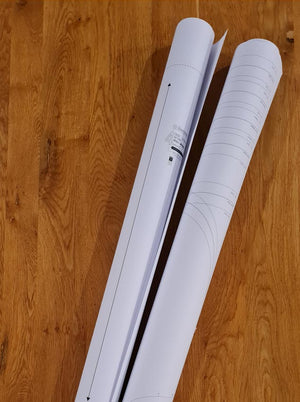
Help with getting your large scale pattern file (in AO size) printed at the printers or Copy Shop is here.
IN SUMMARY
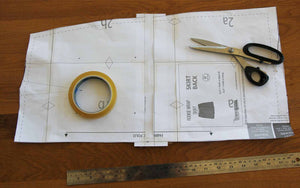
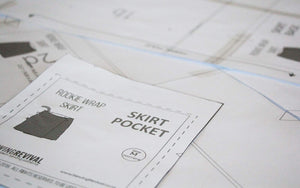
A. Cut the BOTTOM and RIGHT HAND SIDE (only) of each pattern tile just outside the vertical tile lines.
B. Layout the sheets of paper printouts in a grid with the columns marked by the letters of the alphabet and the numbers indicate the row. For example; place numbers 1a, 1b, 1c, 1d (etc) from left to right along your table. Directly underneath these, place the next row numbered 2a, 2b, 2c, 2d etc (and so on).
C. Arrange the Pattern Tiles snug against each other so that they overlap to align the triangles and pattern markings. When the triangles are aligned, they should form a perfect diamond shape. Before you tape the pattern tiles together, it is best to arrange them all and place some weights to keep them still.
D. Cut around the outside edge of the pattern markings. The solid line is the cutting edge (and will become the edge of your fabric piece). The dotted line is the seam (1 cm or 3/8”). Make sure you mark the notches by cutting around them (they are used to match up fabric when you begin sewing).
SEWING PATTERNS FOR BEGINNERS:
You know how to thread the sewing machine, can sew a straight stitch and a zig-zag. You've also worked through our FREE Easy Sewing Projects and now you are ready for a little more.
The following patterns will teach you the basics like inserting elastic to create gathers for function (like a waistband) or style feature (like a gathered neckline or hem). You will learn to sew darts (to create shape in a garment) and sew a facing (the easiest way to finish a curve on a neckline).
Sewing patterns to develop skills
New skills like the "buritto method" , matching plaids and patterns, top stitching, making & sewing your own bias tape.
Learn to sew with stretch fabrics, insert a zipper, sew button holes and other fastenings.

